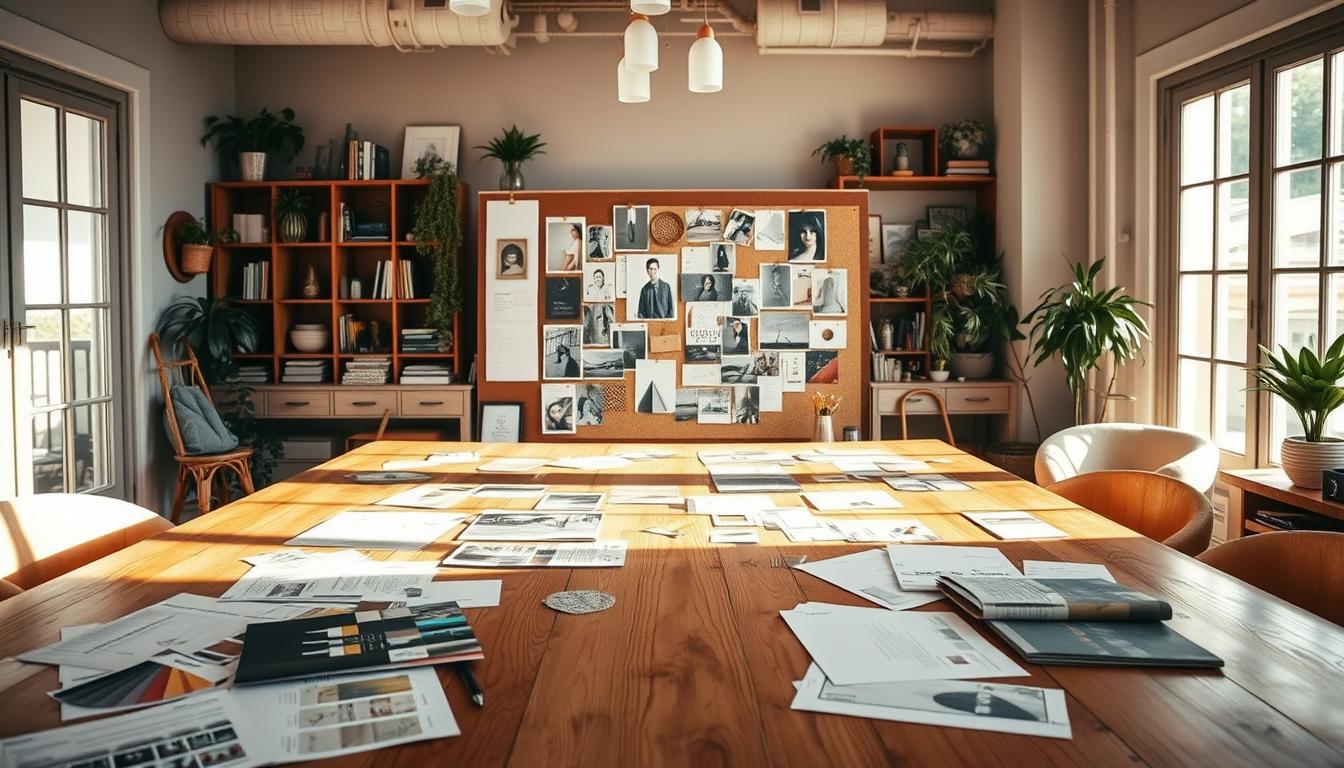
Did you know a well-made visual of your design ideas can change a project’s success? An effective mood board is more than images. It’s a tool that clarifies your vision and shares it with others.
We use mood boards to show our inspiration and design plans. This ensures everyone is in sync. A mood board turns our ideas into a clear visual, making it easier to bring our vision to life.
Creating a mood board is simple. We’ll look at how to make a mood board that shows the heart of our design. In this article, we’ll dive into making a mood board and why it’s key in design.
Key Takeaways
- Understand the purpose of a mood board in the design process
- Learn how to create a visual representation of your design ideas
- Discover the importance of clarifying your vision and communicating it to clients or stakeholders
- Explore the steps involved in creating a compelling mood board
- Gain insights into how a mood board can help bring your design vision to life
Understanding the Purpose of a Mood Board
In interior design, a mood board is key for designers to share their vision. It shows the design concept visually. This helps to understand the project’s overall look and feel.
What is a Mood Board?
A mood board is a mix of images, colors, textures, and design elements. It shows the heart of a design idea. It can be physical or digital and guides the design process.
By picking elements that match a certain mood, a mood board makes ideas clear. It helps designers to focus on a single visual identity. This tool lets designers try out different looks and make smart choices for the project.
Benefits of Using a Mood Board
Using a mood board has many advantages in interior design. It makes the design style clear, ensuring everything fits well together. It also helps designers, clients, and others to talk clearly about the project.
| Benefits | Description |
|---|---|
| Clarifies Design Style | A mood board defines a project’s look, making sure all parts match. |
| Enhances Communication | It shows the design idea visually, making it easier to talk about with everyone involved. |
| Informs Design Decisions | A mood board helps designers make choices about the project’s look and feel. |
With a mood board, designers can tell a clear story through visuals. This story guides the design process. It ensures the final product meets the client’s wishes.
Key Elements of an Effective Mood Board
A well-crafted mood board is key for sharing design ideas with clients and stakeholders. It shows our design vision in a visual way. This ensures everyone on the project team is in sync.
To make a great mood board, we must focus on a few important things. These are colors and textures, images and graphics, and fonts and typography. Together, they create a unified look for our design project.
Colors and Textures
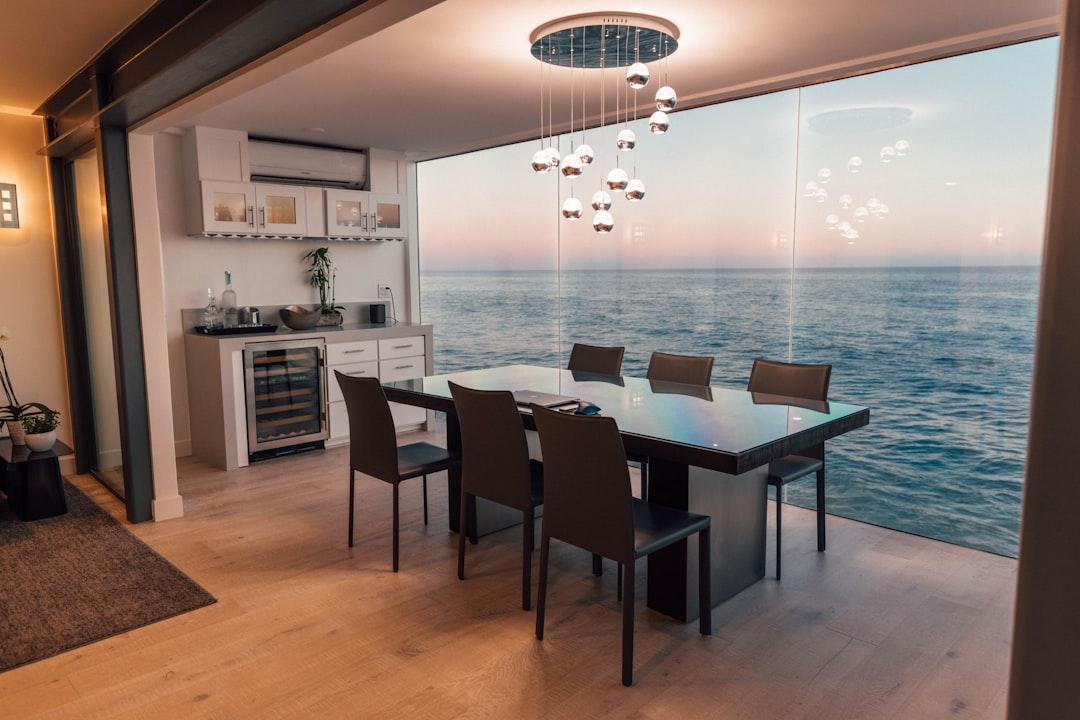
Colors and textures are at the heart of a mood board. They set the mood and atmosphere for the design. For instance, cool colors like blue and green can be calming. On the other hand, bright colors like red and orange can energize.
Textures add a tactile feel to our mood board. They make the viewer feel more connected to the design. We can use different textures, like fabric, wood, or metal, to enrich the visual experience.
“The right color palette can make or break a design. It’s not just about aesthetics; it’s about creating an emotional connection with the user.”
Images and Graphics
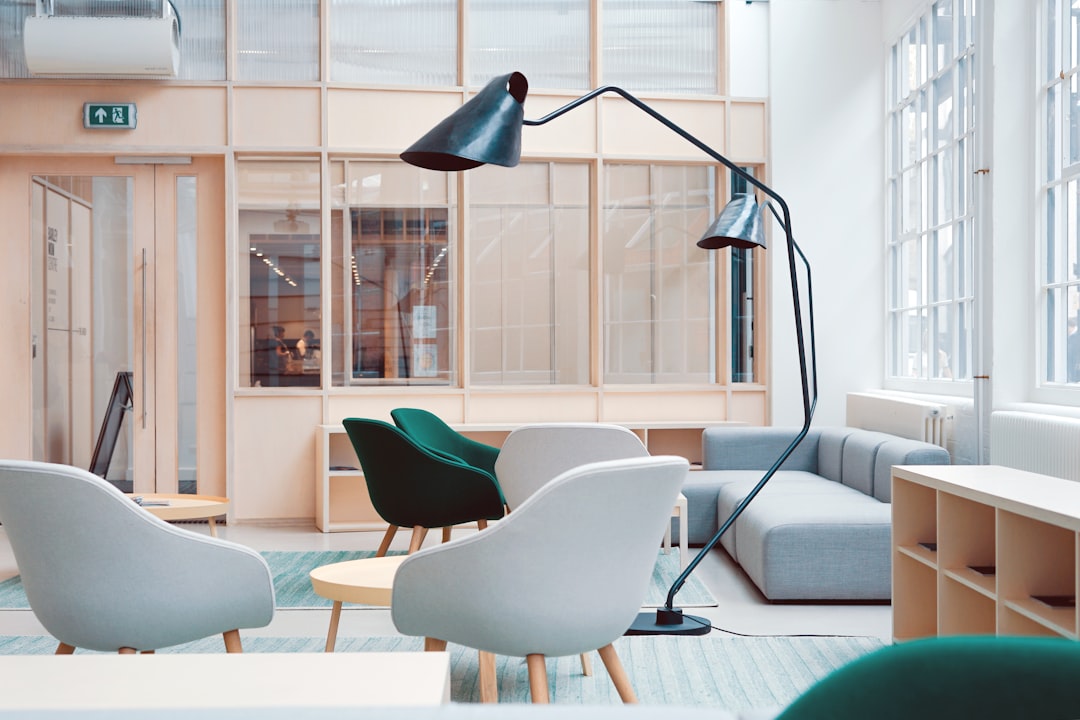
Images and graphics are vital for a mood board. They help share our design vision and spark creativity. We can use photos, illustrations, and digital graphics to make our mood board lively and engaging.
When picking images, we should think about their connection to the project and how they look. Images can show different moods, from peaceful scenes to bustling cities.
Fonts and Typography
Fonts and typography are crucial for our mood board’s look. The right font can enhance the design’s beauty and show the project’s tone and personality.
Choosing fonts involves considering their clarity and emotional impact. Mixing different font styles and sizes helps create a clear visual order in our mood board.
By paying attention to colors and textures, images and graphics, and fonts and typography, we can make a mood board that clearly shares our design vision. It will also inspire creativity.
Gathering Inspiration for Your Mood Board
To make a great mood board, we need to find inspiration from many places. Looking for inspiration is key in design. It helps us create a mood board that shows our design vision well.
Online Resources and Tools
The internet is full of ideas for mood boards. We can use many online tools to find the right pieces for our board.
- Design Websites: Sites like Pinterest, Behance, and Dribbble are full of design ideas. They show a wide range of styles, from simple to complex.
- Social Media: Instagram and Facebook are also good for finding inspiration. Following designers and bloggers keeps us up-to-date with new trends.
- Online Magazines and Blogs: Design and lifestyle magazines and blogs have lots of inspiring content. We can use this to make our mood board.
Nature and Travel as Inspiration
Nature and travel are big sources of inspiration for designers. The colors, textures, and patterns of nature can greatly influence our mood board.
For example, a beach trip might inspire a mood board with calming blues and sandy neutrals. A visit to a lively city could lead to a mood board with bold colors and urban textures.
| Inspiration Source | Possible Colors | Textures/Patterns |
|---|---|---|
| Beach | Blues, Whites, Sandy Neutrals | Smooth Stones, Driftwood |
| City | Bold Reds, Urban Greys | Concrete, Metallic Surfaces |
| Forest | Greens, Earthy Browns | Wood Grain, Leaves |
Local Art and Design Resources
Local art and design spots can also inspire our mood board. Visiting art galleries, museums, and design shows can show us many artistic styles.
Local home decor stores and showrooms also offer insights into current trends. They provide real examples of materials and textures.
By mixing inspiration from online sources, nature, and local art, we can make a mood board that clearly shows our design vision.
Selecting a Format for Our Mood Board
The format of our mood board is key to organizing our ideas. We can choose between digital and physical formats. This depends on our personal style, the project’s needs, and the tools we have.
Digital vs. Physical Mood Boards
Digital mood boards are great for teamwork and updates. They’re perfect for projects that involve remote teams. Physical mood boards, on the other hand, let us touch and feel materials. This is great for interior design.
Think about the project’s needs when choosing. Digital boards are good for projects that involve travel or remote work. Physical boards are better for projects that focus on materials and textures.
Tools for Creating Digital Mood Boards
For digital mood boards, many tools and software are available. Some top picks include:
- Canva: Known for its user-friendly interface and vast template library.
- Adobe XD: Ideal for creating interactive and dynamic mood boards.
- Milanote: Offers a more free-form approach, allowing for the integration of various media types.
When picking a tool, think about what your project needs. Look for tools that offer good collaboration, are easy to use, and let you share your board.
| Tool | Collaboration Features | Ease of Use |
|---|---|---|
| Canva | Yes | High |
| Adobe XD | Yes | Medium |
| Milanote | Yes | High |
Choosing the right format and tool for our mood board helps us work better together. It also makes it easier to share our design ideas.
Organizing Our Mood Board Components
To make sure your mood board gets your design idea across, it’s important to organize well. Organizing your mood board’s parts is key for a great design presentation.
Categorizing Our Ideas
Start by sorting your ideas. This means putting similar things together, like colors, textures, and images. This makes your mood board look more unified and powerful.
Here are some ways to sort your ideas:
- Group by theme (like nature, urban, or abstract)
- Organize by design element (like furniture, lighting, or materials)
- Sort by color or texture
Creating a Visual Flow
It’s also important to make a visual flow. This means arranging things so the viewer’s eye moves smoothly through your board.
Here are some tips for a visual flow:
- Use a main image or element to draw the eye
- Arrange things in a story-like order
- Use a grid or other structure to organize
By using these tips, your mood board will look good and clearly show your design idea.
Defining Our Project Goals
Before starting the design process, we need to set clear goals for our interior design mood board. This step helps focus our design efforts towards a specific outcome. By setting goals, we can create an interior design that meets our needs and expectations.

Clarifying the Design Style
Understanding our design style is key to setting project goals. We look at the aesthetic and functional elements that will guide our choices. Factors like the desired ambiance, lifestyle needs, and personal preferences help us choose the right style.
For example, a modern minimalist style focuses on clean lines and minimal ornamentation. It emphasizes functionality over decoration.
To find our design style, we can look at mood board examples of different aesthetics. This helps us see how various elements come together. We can also get inspiration from design magazines, online platforms, and showrooms.
Setting a Budget
Creating a realistic budget is also vital. We need to figure out how much money we have for our project. This includes costs for furniture, materials, and labor. A clear budget helps us make choices that fit our financial limits.
To set a budget, we consider the project’s scope, the quality of materials, and the costs of professional services. We should also decide how to spend our money based on our goals and design style. This ensures we focus on what’s most important to us.
By understanding our design style and setting a budget, we can make an interior design mood board that looks good and is affordable. This groundwork lets us move forward with confidence, knowing our design aligns with our goals and budget.
Crafting the Narrative Behind Our Mood Board
Our mood board is more than images; it’s a visual story that shapes our design choices. As we pick the elements for our mood board, we’re telling a story about the space we’re creating.
Storytelling Through Visuals
Visual storytelling is key to a good mood board. We mix images, colors, and textures to share our design vision. Here are some important things to think about:
- Imagery: Choose images that match the mood or atmosphere we want.
- Color palette: Pick colors that go well with the images and add to the story.
- Textures: Add textures to make the mood board feel real and touchable.
Connecting Emotions with Design
A great mood board does more than show our design plan. It also touches the feelings of our audience. To do this, we think about how different parts of the mood board might make people feel. For example:
- Warm colors can make a space feel cozy and welcoming.
- Natural textures can bring a sense of peace.
- Images that speak to the client’s experiences or tastes can connect with them.
By carefully making our mood board, we create a powerful tool. It guides our design work and shares our vision clearly with clients or others involved.
Presenting Our Mood Board to Clients or Stakeholders
When we’re ready to show our mood board, we must think about who we’re showing it to. It’s not just about showing our design ideas. It’s about sharing a story that our clients or stakeholders can connect with.
Effective Presentation Techniques
To show our mood board well, we must clearly explain the design choices we made. We should talk about how the colors, textures, and images come together. Using mood board templates can make this easier by giving us a clear structure.
Another good way is to tell a story with our design. By sharing a narrative about our design choices, we make the mood board more interesting and personal.
Soliciting Feedback
Getting feedback is key when we present our mood board. We should encourage open conversation by asking detailed questions. This could be about the colors, the look, or if it matches what they want.
Using a DIY mood board tutorial can help our clients understand the design process. This way, they can give us good feedback. It helps us make sure we’re creating something they’ll love.
Finalizing Our Mood Board for Implementation
Our mood board is now ready. We can make changes based on feedback and get ready for the next steps in our design project. Mood board software makes it easy to share and work together with others.
Refining Based on Feedback
We collect feedback from clients or stakeholders. Then, we adjust our mood board as needed. This makes sure our design meets their expectations.
Preparing for the Next Steps
With our mood board finalized, we can start working on our design. This visual guide helps us stay on track with our goals. It ensures our design is cohesive and effective.
By following these steps and using the right tools, we can make our design vision a reality.